Table of Contents

Patient Photos vs. Patient Measurements
Before and after photos are the best form of documentation for non-surgical fat removal. Measurements vary based on where the tape measure is placed, and how taut it is held on each body area. Weight should be stable. Consistent high quality medical photography is going to show the patient their results and make them feel satisfied with their treatment. Impressive before and after photos will also increase your chances of treating their friends (“Check out my before and after pics of this treatment I did! It didn’t even hurt…”) and/or adding new treatment plans for different body areas. Here for an example of a practice-branded report for showcasing fat reduction before and after photos.
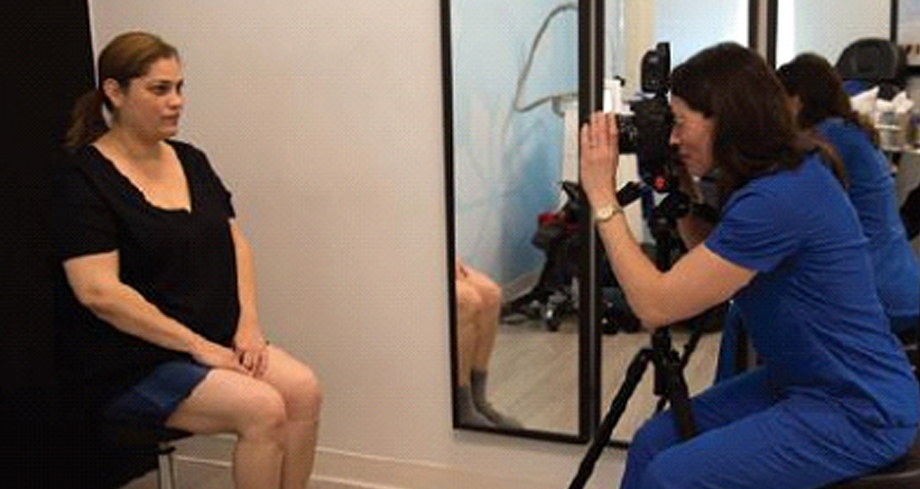
Setting up a photo room is simple and well worth the investment. Click HERE to read about setting up a medical photography room in your practice. Of all the options out there, RxPhoto is my favorite for medical photography. RxPhoto is a HIPPA-compliant, password-protected app on my iPhone. I can take photos directly on my phone, without using up my personal storage. RxPhoto’s on-screen positioning guides takes the guess work out of taking photos of my body contouring patients. I can put before and after photos side-by-side in the exam room from my iPhone/iPad. I can securely send patients their photos. And best of all, I don’t have to upload photos from a camera at the end of my shift. Check out more on the “What is RxPhoto” page
Consistency
Patients are going to be cynical when it comes to before and after photos. They instinctively assess whether one photo looks like the patient is “sucking in their stomach,” or “swaying their back,” etc. The most important aspect of medical photography is remaining consistent in positioning the patient. For these reasons, regardless of the area being sculpted, I recommend coaching the patient with the following cues during their photos:
- “We’re going to use this positioning tool to make sure I am consistent with all of your photos.” Impress upon the patient your commitment to consistency. Use the patient positioning mat, provided with your CoolSculpting machine. Have your patient stand with each foot on either side of the numbers.
- “Fix your gaze straight ahead.” Sometimes the patients will look up or down, because having photos taken can feel awkward. However, the neck often follows the gaze. If they are looking straight ahead, you know their neck is in alignment.
- “Inhale, and exhale.” Capture the shot on the exhale to avoid the “sucking in” comment later.
- One of the most common mistakes with consistency is that the patient can be over/under rotated on a particular angle. For example,e the 45-degree shot. Sometimes this is referred to as the oblique angle, or the diagonal view, or the corner shot. How do you make sure that the before 45-degree is not 49-degrees? Yes the mat helps, but if you are using these photos for your marketing material, the CoolSculpting mat is only step 1. Here are a few strategies to overcome under/over rotation:
- Take multiple ‘After’ pictures of your patient from varying positions of each angle so that you can choose the most consisten version later
- Or, you can use a service such as RxPhoto who has a feature called “Photoghosting” which has solved this problem for me in the clinic. When I am taking the patient’s “after” photo, I simply press the “Photoghosting” option, and a transparency of the “before” photo hovers on top of my camera view on my iPhone. This allows me to line up the patient’s features and match the angle exactly. You can also adjust the transparency, to make it lighter or darker, per user preference.
This one feature (Photoghosting) turned an exhaustive process of taking the after photo and hoping that it matches the before to a streamlined one where the before photo is used as a guide for taking the after photo. RxPhoto’s Photghosting is extremely helpful with our CoolSculpting patients as well as our Botox and Dermal Filler patients!
Body Areas
Abdomen
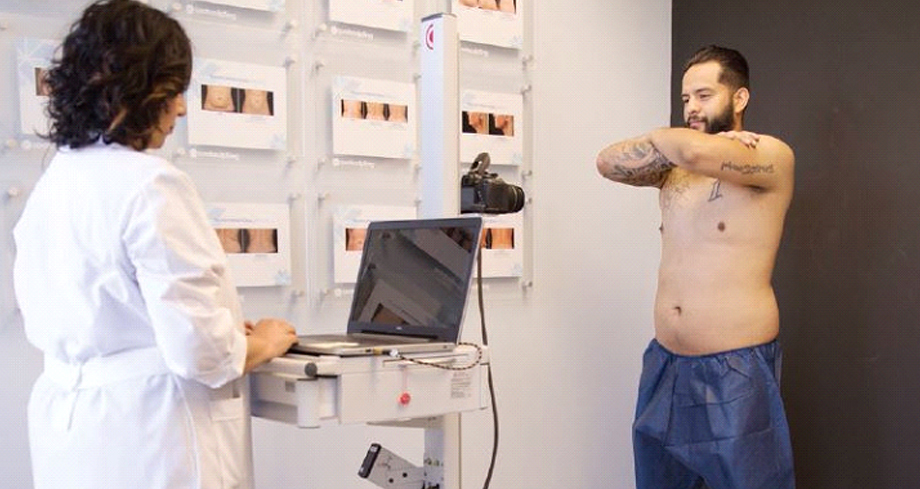
- Have the patient cross their arms, level with their shoulders. I call these the “I Dream of Jeannie” arms.
- Encourage proper posture, as this is easiest to duplicate. I usually tell the patient, “Relax your shoulders, and stand/sit up straight.”
- Tell the patient to, “Inhale, and exhale.” Capture the shot on the exhale to prevent the patient from saying “I look like I was sucking in my abdomen here.” If you’re consistent, you can say “I consistently capture the image on the exhale.” Consistency is key for all aspects of clinical photography.
- Change angles. Tell the patient to face the diagonal, with each foot on the “2’s.” Same posture, same arms, same breathing. Then change to the side view, with each foot on the “3’s.”
- The shots you want captured for abdomen are:
- Straight on – Frontal view
- Each diagonal view – Sometimes this is referred to as the oblique angle, or the diagonal view, or the corner shot.
- Each side view – – Sometimes referred to as the lateral view.
In the frame: Take the picture from Just below the breasts to the groin, with the backdrop on both sides of the body in every photo.
Flanks
- Have the patient cross their arms, level with their shoulders. I call these the “I Dream of Jeannie” arms.
- Encourage proper posture, as this is easiest to duplicate. I usually tell the patient, “Relax your shoulders, and stand/sit up straight.”
- Tell the patient to, “Inhale, and exhale.” Capture the shot on the exhale to prevent the patient from saying “I look like I was sucking in my abdomen here.” If you’re consistent, you can say “I consistently capture the image on the exhale.” Consistency is key for all aspects of clinical photography.
- Change angles. Tell the patient to face the diagonal, with each foot on the “2’s.” Same posture, same arms, same breathing. Then change to the side view, with each foot on the “3’s.”
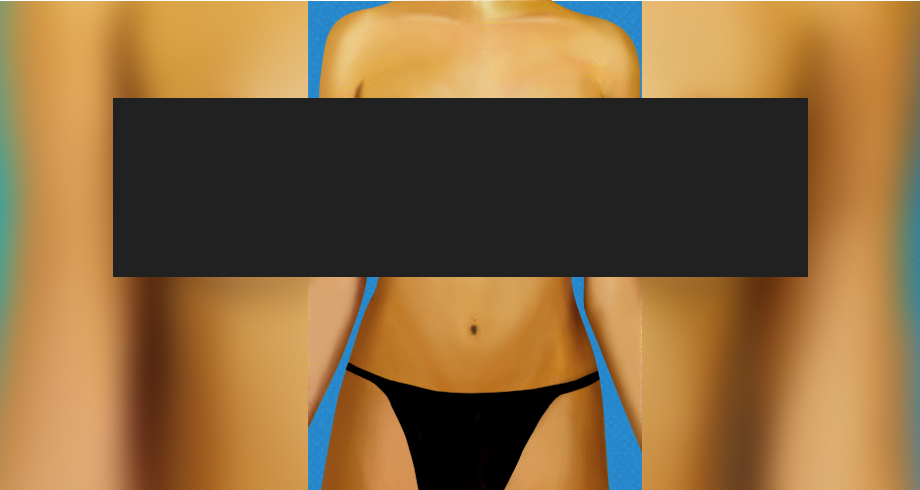
- The shots you want captured for the flanks are:
- Straight on (anterior)
- Each anterior diagonal view
- Each side view (lateral)
- Each posterior diagonal view
- Straight on (posterior)
In the frame: Take the picture from the base of the neck to the groin, with the backdrop on either side of the body, arms in their anatomical position in every photo.
Thighs
- Have the patient cross their arms, level with their shoulders. I call these the “I Dream of Jeannie” arms.
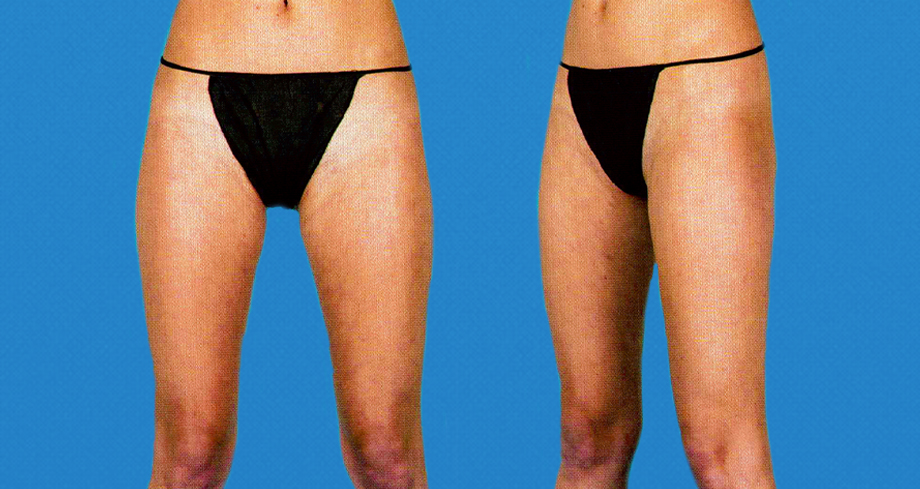
- Tell the patient to place each foot on either side of the 1’s on the positioning tool. If the inner thighs are touching, have them separate their thighs until they are no longer touching. Drawing lines around the blue hexagon helps with consistency (see photo below).
- Change angles. Tell the patient to face the diagonal, with each foot on the “2’s.” Same posture, same arms, same breathing. Then change to the side view, with each foot on the “3’s.”
- The shots you want captured for thighs are:
- Straight on (anterior)
- Each anterior diagonal view
- Each side view (lateral)
- Each posterior diagonal view
- Straight on (posterior)
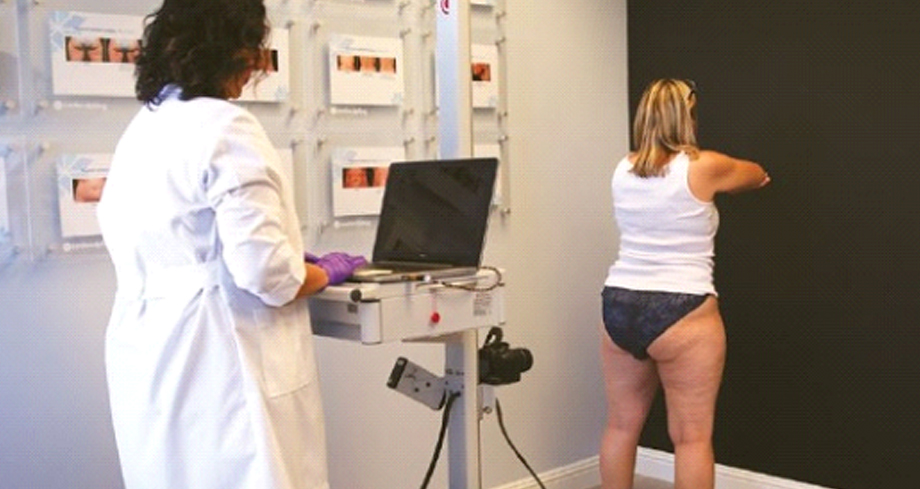
In the frame: Take a picture just above the bellybutton, to just below the knee.
Submentum – anatomy situated beneath the chin
- Instruct the patient to sit on a stool with upright posture.
- Have them fix their gaze straight ahead.
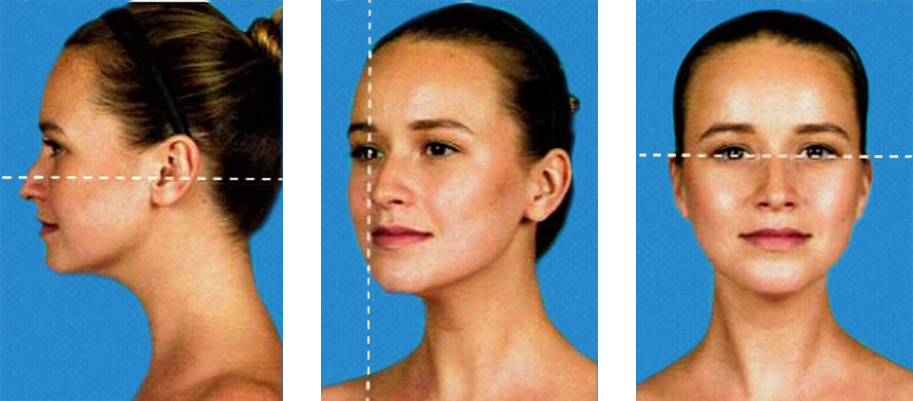
- The shots you want captured for submentum are:
- Straight on looking forward
- Straight on tucking the chin to the chest
- Each diagonal view
- Each side view
- Chin down
In the frame: Take a picture of Just above the head to the sternal notch.
Using this guide for every CoolSculpting photo you take will ensure consistency and increase client satisfaction. Impressive before and after photos will increase your sales, and reinforce your reputation as the expert in your area.
“When a patient is looking at before and after photos, their eyes are drawn to inconsistencies. The goal of proper patient photography is to eliminate the inconsistencies so that the patient’s eyes are drawn to the amazing results of the procedure, not the inconsistencies of the photography.”
Are you struggling to take high-quality and consistent before and after photos?
Check out our whitepaper on

Scott Alten
Managing Partner – RxPhoto


