
1. Be the expert.

Patients have Google at their fingertips. The Gen-X and Millennial patients likely searched the #botoxbrowlift or #byebyewrinkles hashtags for hours prior to seeing you. When they are sitting in the exam chair, explain their anatomy to them, and tell them your limitations with Botox. For example, if a patient has crow’s feet that extend to the mid-cheek, I explain that Botox in the orbicularis oculi will definitely soften the lateral canthus lines, but the lines present in the cheek will still be visible. I explain that Botox injected directly in the cheek would make the patient look like they have Bell’s Palsy. The patient is instantly grateful that I know what I’m doing, won’t mess up their face, and also has realistic expectations for what Botox can do for the crow’s feet area. Educating your patient, while setting the stage with realistic expectations, reaffirms that you are educated, experienced, and confident.
2. Point out existing asymmetries.
Sometimes they warrant asymmetric dosing, and sometimes you’ll keep the dose consistent from left to right, but you don’t want the patient thinking you created asymmetries that were there pre-treatment.
3. Take before photos.
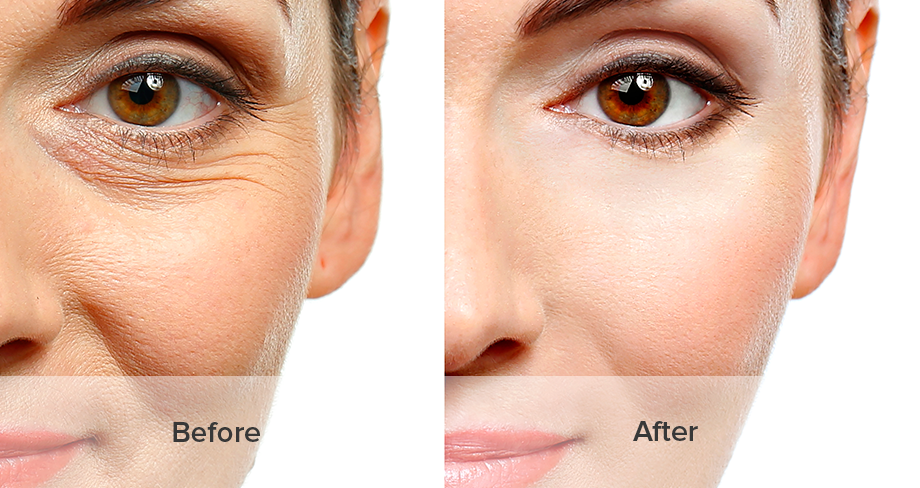
The most accurate and non-biased documentation possible is photography, and the most convenient option is RxPhoto. I downloaded the app onto my iPhone 6+, and every clinic room in our building has a blue drape hanging from a curtain rod in front of a full-length mirror. I always take photos before injecting. I’ll take photos of the patient at rest, as well as activating the muscles I plan on injecting. The photos are stored in a HIPAA-compliant, password-protected cloud, which ensures patient privacy. The photos are part of my documentation process for the treatment provided. When the patient has a follow-up, I am able to take consistent photos of their result, and compare the views side by side directly from my iPhone or iPad.
4. Explain the difference between an active wrinkle and a passive wrinkle.
Explain that the mechanism of action in Botox is to prevent muscular contraction, preventing an active wrinkle. Explain that any passive lines in the face at rest are not guaranteed to go away with Botox (though they soften in many patients). This is a great time to point out areas that the patient doesn’t have passive lines, but could use Botox preventively. Take the “before” set of photos asking the patient to make various expressions. Review the photos together on a service like RxPhoto where you can show the patient before and after photos of patients you’ve injected (with their consent, of course) to really drive this point home. During this part of my consultation process, I have many younger patients opting to add a conservative dose in the crow’s feet area.
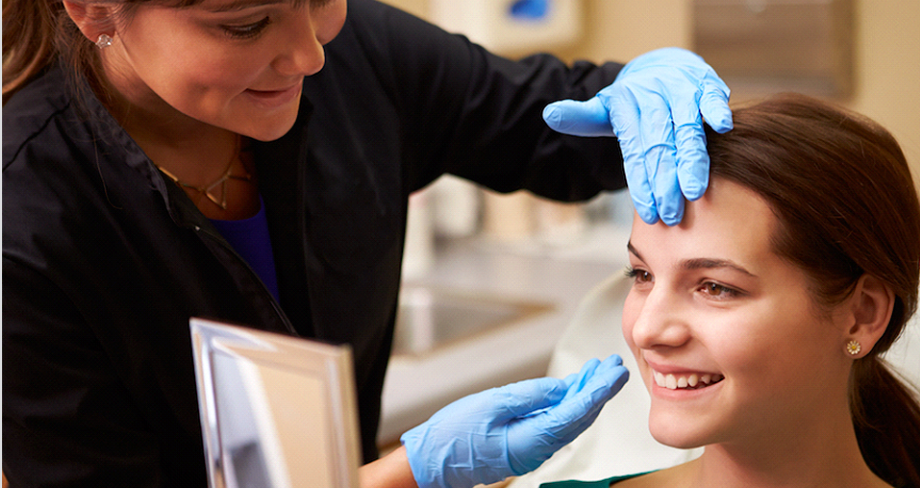
5. Map out injections.
Novice injectors ought to use a white eyeliner pencil while asking the patient to make facial expressions. There is no shame in marking the patient, and many patients appreciate the extra time and attention to detail. Busy practices with more experienced injectors might not mark on the patient’s face, but while obtaining the before and after photos, the RN should definitely focus on where the patient will see the most benefit, and document where the injections will be.
6. Use ice.
Prior to injecting, a pack of ice on the area will temporarily constrict blood vessels, decreasing the risk of bruising. It also helps make the injections more comfortable for the patient.
7. Keep your reconstitution consistent, and documented, every single time.
I’ve seen injectors add more saline to the Botox for wider areas, like the forehead, in hopes that it will spread out further. The patient feels less “pokes,” but the risk of an eyelid ptosis increases. Allergan recommends adding 2.5 mL saline per 100 unit vial. I suggest sticking to the recommendation. Patients talk. In real life, of course, but even more so on Real Self, Facebook, and Instagram. Social media can be your best friend or worst enemy! If word gets out that you “dilute your Botox,” you’re in trouble. Make sure you “CYA” and write the reconstitution on every chart, for every patient, every time.
8. Review post-injection instructions.
Even the “frequent flyers” need to be reminded not to lie flat for 4 hours after their treatment, not to rub their eyes for 24 hours, and not to exercise for the rest of the day. If they come in wearing a ballcap, I remind them not to put it back on for the rest of the day.
9. Insist on a 2-week follow-up appointment.
This presents the opportunity to take after photos, and evaluate the Botox treatment. Botox patients are not used to seeing before and after photos. When a patient loves their before and after photos, they are much more likely to be loyal and return to you in 3 months for their next dose.
10. Document in detail.
Let’s be honest, a “25” scribbled between the brows is vague. Document each injection site with the number of units injected. Some patients have horizontal corrugators, while some have more of a “V” shape. Allow your documentation to reflect the patient’s anatomy. My primary motivation for this is selfish. If I am going to inject the patient again, I likely won’t remember specifics with a treatment performed months ago. Also, if the patient sees a different provider for any reason, the next injector will appreciate the detail and likely affirm to the patient that you were a conscientious injector. RxPhoto has an injection tracker and report generator that allows for easy electronic documentation that can be done at your fingertips, and printed with your practice’s logo as the letterhead. This report helps build your brand, and works as marketing when the client passes it along to their friends. It’s a win all around.
Are you struggling to take high-quality and consistent before and after photos?
Check out our whitepaper on
Lindsay Van Meter
Lindsay Van Meter, RN, BSN, CNOR, CANS

How much should you spend on medical photography equipment?Without a doubt, your office needs to take photos of your patients on a daily basis. Whether you’re building a before and…

Ever wonder why you call your clients “patients”? Turns out, the etymology of the word stems from a Latin word that means “enduring, or suffering, without complaint”. And this quiet…

Before and after photos, as well as photos used to document patient procedures are considered PHI (Protected Health Information) by HIPAA, regardless of whether or not clients are using health…